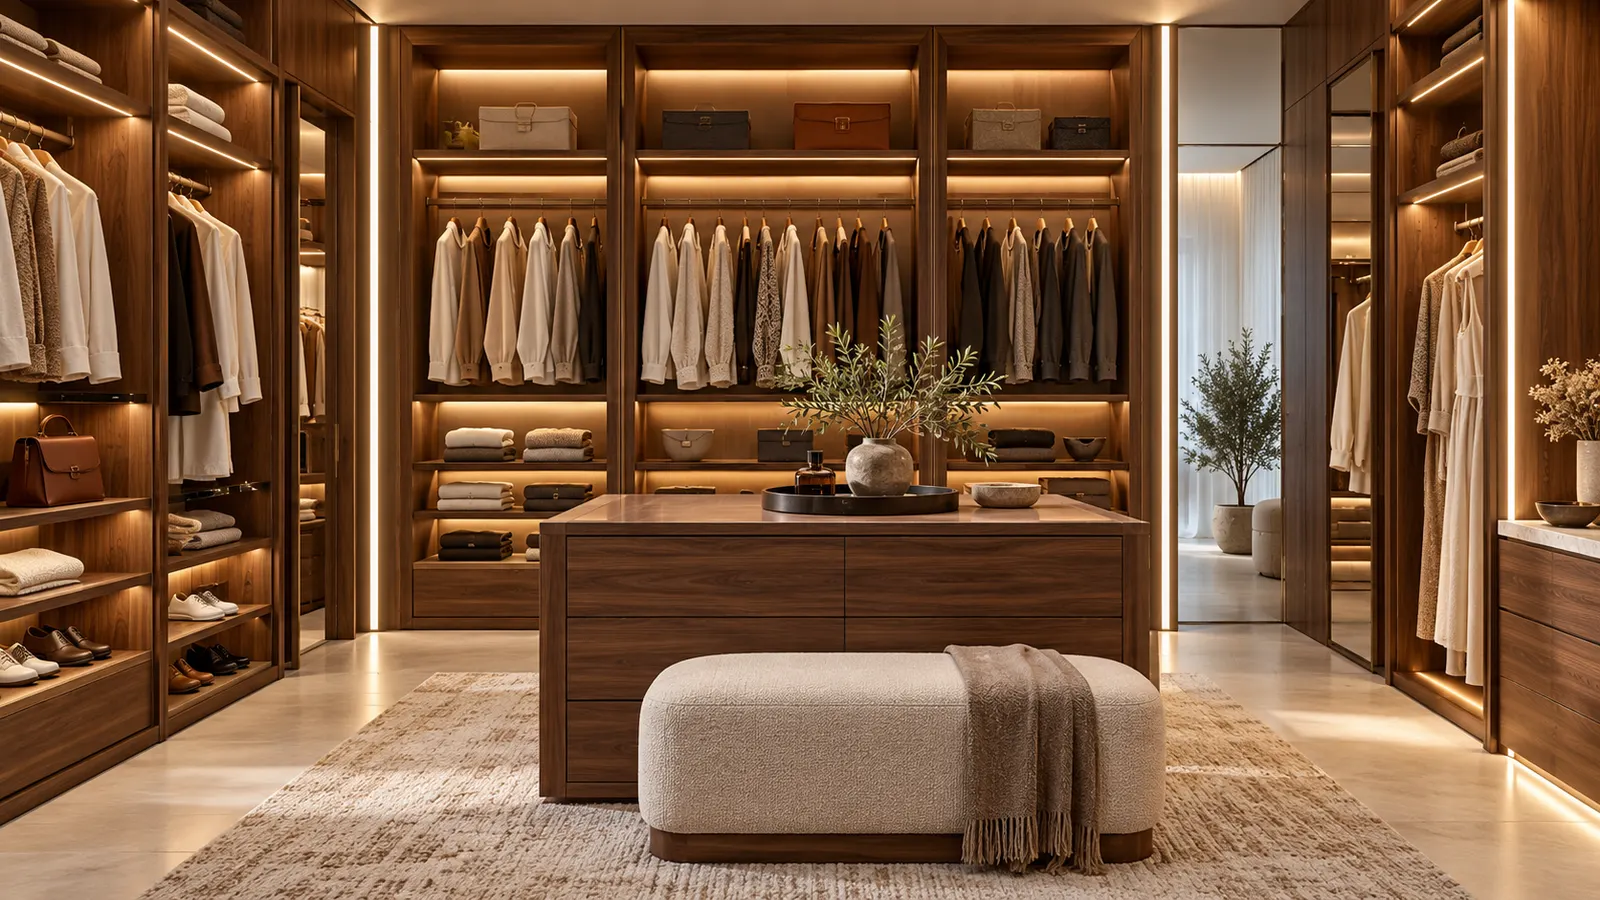
For a hanging-clothes bay, paired vertical lights near the front are a useful starting point to test. For folded garments, compare a light beneath each shelf. An illuminated rail can combine two functions where a suitable rail system is available. A plinth light helps define the base but should be supplementary to lighting inside the wardrobe.
This shortlist helps UAE villa and Saudi hotel buyers compare wardrobe joinery details. All layouts are assessed for visibility of stored items, direct or reflected glare, fabrication requirements and replacement access. These are design judgments to verify in a sample bay, not supplier ratings, measured illuminance results or a regional code specification. Selection reviewed on October 22, 2026.
Compare the layout with what the bay stores
| Layout | Visibility and likely use | Glare check | Fabrication and service check |
|---|---|---|---|
| Paired front vertical profiles | Hanging garments viewed from the doorway | Conceal both luminous faces from normal viewing positions | Two routes, end connections and removable covers |
| Light beneath each shelf | Folded garments, bags and shoes in separate compartments | Recess or shield the front light line | Connections must allow the intended shelf adjustment |
| Angled side profile | A narrow bay with room for a directional profile | Check the luminous opening with doors fully open | Verify the full profile cross-section and cleaning access |
| Illuminated hanging rail | A hanging section using an engineered rail system | Check reflections and shadows with actual hangers | Confirm structural supports, cable exit and replaceable light parts |
| Recessed plinth strip | Supplementary base detail in a walk-in wardrobe | Hide the source from standing and seated views | Keep it accessible and protected from routine cleaning contact |
1. Paired front vertical profiles for hanging bays
Test profiles inside the front edges of the bay, aimed toward the garments. Lighting from both sides may reduce the shadows from a single side source. Densely packed clothes can still block the light, so fill the rail realistically before approving positions and routing production panels.
Check the mounting space around hinges, sliding-door overlap, drawer fronts and handles. View the proposed light positions from the wardrobe entrance and from the room. A mirror door may reveal a source that is hidden in a straight-on view.
Provide removable profile covers and accessible end connections so a short failed section can be replaced without dismantling the wardrobe.
2. Under-shelf lines for folded garments
To light separate compartments, test a line beneath each shelf above. A frontward position with a shielding lip is worth comparing with the joinery drawing. A source behind the stored items can leave their fronts poorly lit.
If shelves must remain adjustable, agree how their wiring moves or disconnects. Show retained cable slack and profile removal on the drawing, including how the panel finish is protected during service. The cabinet installation guide covers assembly checks; adhesive alone does not define the mounting design.
3. Angled side profiles for constrained bays
An angled profile can direct light across a bay where a flat strip faces the wrong direction. Compare the actual profile, diffuser and mounting orientation. A generic corner profile does not establish acceptable glare or coverage inside a particular wardrobe.
Häfele’s aluminium profile catalog page illustrates why the complete assembly matters: profile geometry and diffuser choice affect the visibility of LED points. It is an older product reference, not confirmation of current GCC availability. Obtain a current drawing for the proposed profile and check the actual strip and connector widths before machining the joinery.
4. Illuminated rails where the whole rail assembly is specified
An illuminated rail places the source close to hanging clothes and combines lighting with the hanging support. Specify an engineered rail assembly, including supports and cable routing. Ordinary decorative strip channel should not be assumed capable of carrying garment loads.
Load the rail with the intended hangers and a realistic quantity of clothes. Check shadows beneath closely spaced hangers and review the light with the rail full. Establish whether servicing requires rail removal and who supplies replacement covers or end parts. Check proprietary connector compatibility separately from nominal voltage.
5. Recessed plinth lighting as a secondary detail
A concealed plinth line can reveal the lower edge of joinery. It does little to illuminate garments behind solid doors or shelves. Select it after the internal lighting is resolved, unless the brief is purely decorative.
Recess the source where it avoids normal sightlines and routine shoe contact. Review cleaning methods and exposure with the assembly supplier. A strip’s protection description alone does not establish the suitability of every cut end, connection and profile detail. Keep the driver and connections reachable without lifting a fixed wardrobe carcass.
Approve the complete bay with clothes in place
Use the intended panel finish, door type, profile, diffuser and strip in a sample bay. Include dark and light garments. Review the clothing fronts, shelf corners and the view in nearby mirrors. An empty white mock-up can hide the shadows and reflections that decide whether a layout works.
Häfele’s wardrobe strip-light datasheet describes a specific recessed strip construction and groove arrangement. Those dimensions belong to that system. They should not be copied to a conventional COB strip or a different aluminium profile.
A white COB strip is a candidate for a shallow linear assembly, subject to the profile’s internal width, cut positions, connector space and thermal requirements. A continuous-looking source does not guarantee a glare-free finished detail. Approve the complete assembly, including the visible diffuser.
If automatic operation is required, test the sensor arrangement with the actual doors and finish. Confirm whether one sensor controls one bay or several, and what happens when a user remains in front of an open wardrobe. Resolve these behaviors without changing the approved power arrangement.
Release a bay schedule rather than a total strip length
Schedule the bay count, profile and cuttable strip lengths, feeds and accessible driver position for each wardrobe type. Visible line lengths need a separate connected-load and cable plan. Use the cabinet application page to discuss the assembly, then define it in the project drawing.
Before release, agree panel machining tolerances, cable exits, diffuser removal direction, sensor locations and a representative replacement procedure. Include labels that let maintenance identify the strip and driver assigned to each bay. Avoid locating equipment where stored fabrics can cover it; the designer must follow the equipment’s installation and clearance requirements.
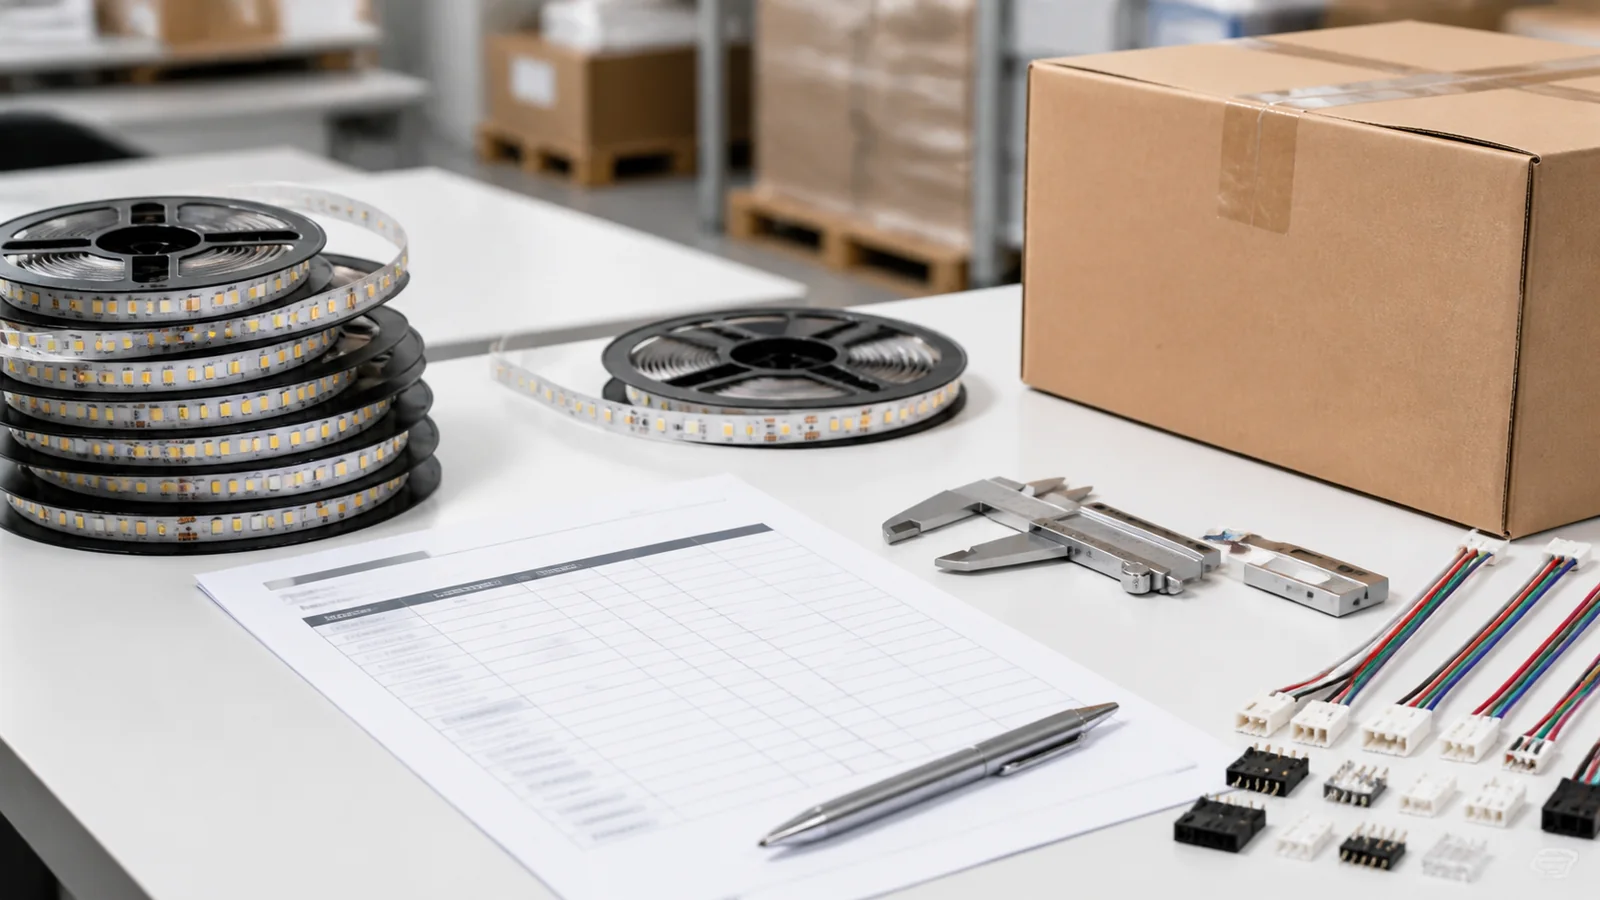
LEDStripStar’s standard MOQ is 500 meters and custom MOQ is 2,000 meters. Confirm how the order is allocated by specification before combining several wardrobe types. Send the approved bay drawing and sample notes with the quotation request; a total meter quantity alone cannot define the joinery assembly.
Catalog & Sourcing Note
This article is prepared from our current product catalog and B2B specification workflow. Electrical, waterproofing and installation requirements vary by model and market, so confirm the final specification and approved sample before ordering.
Discuss Your Specification