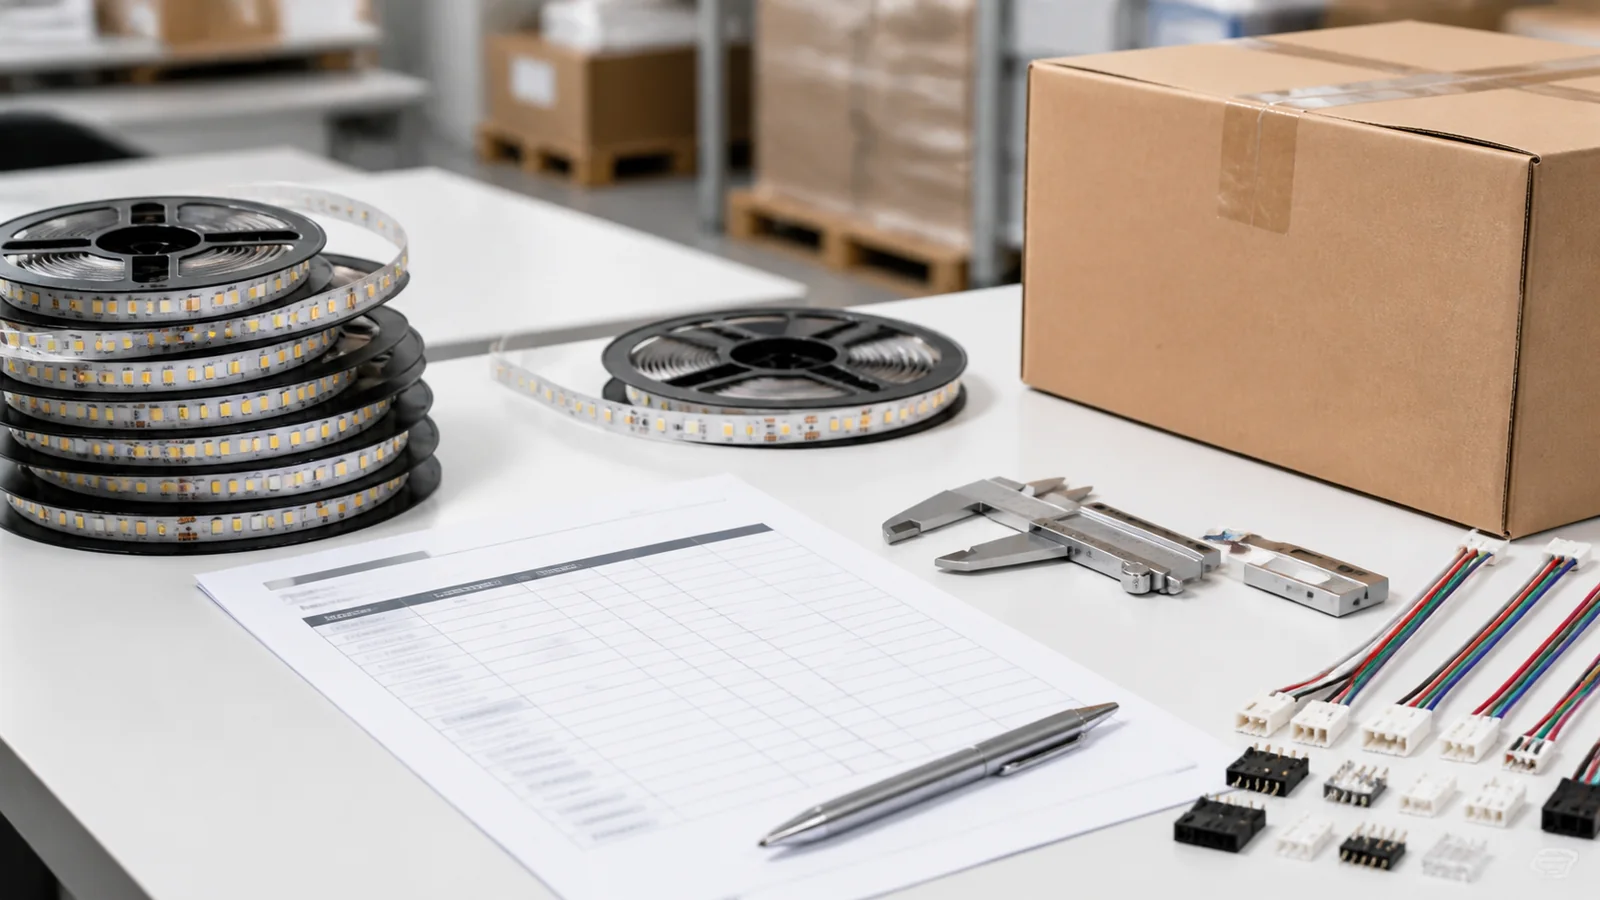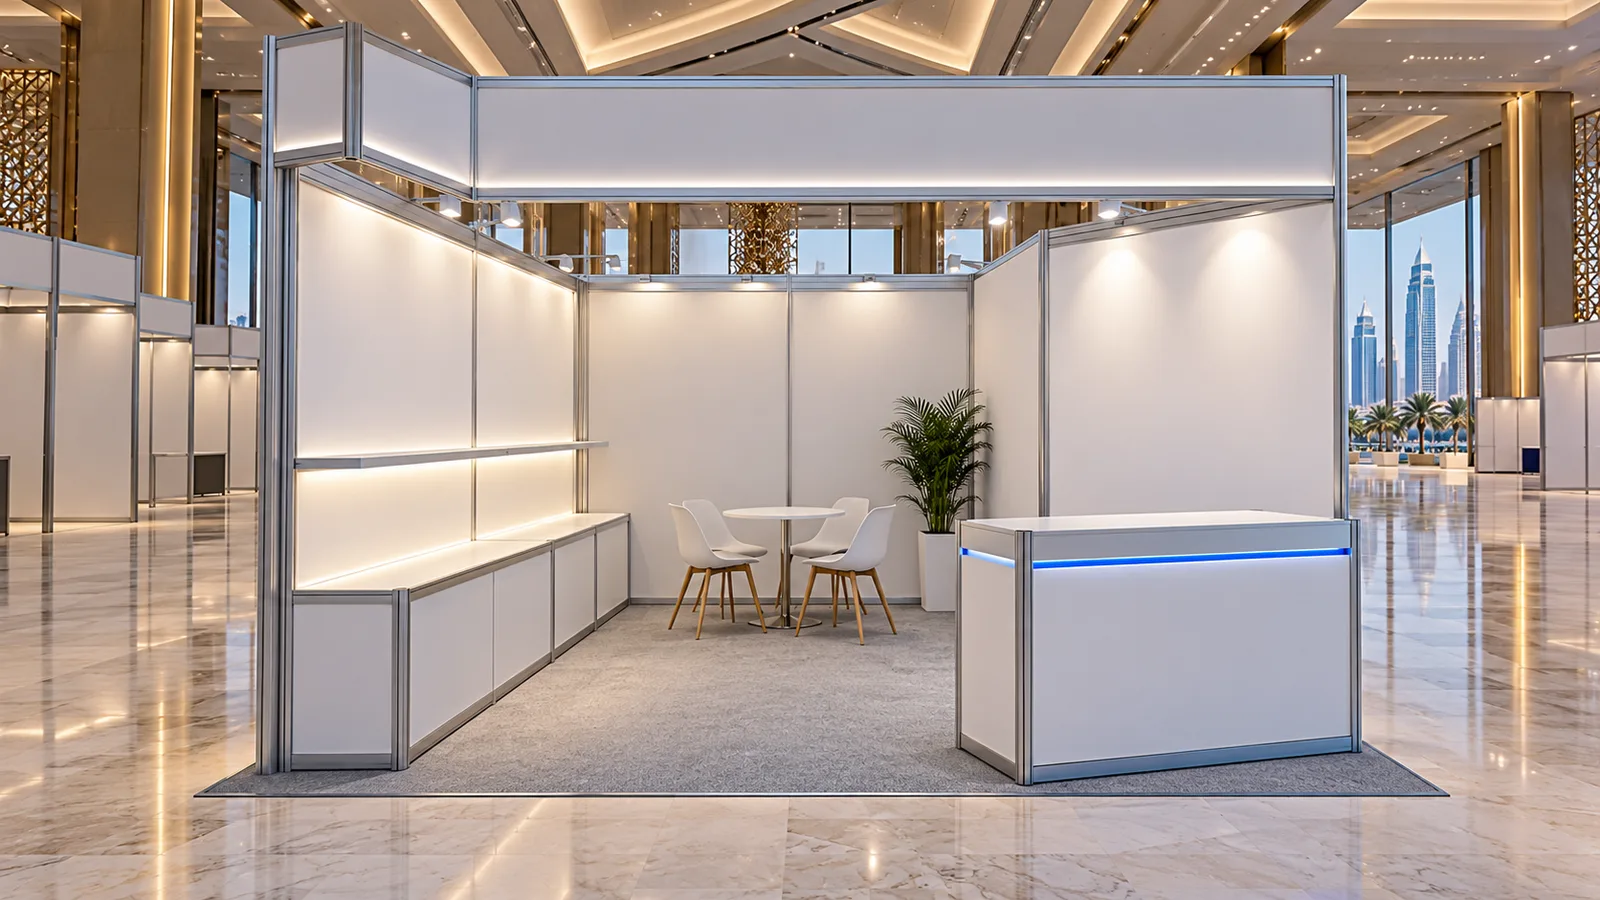
For a GCC exhibition booth, choose the strip configuration by its job: concealed fascia light, white product lighting, narrow joinery, decorative color or reusable modular sections. Keep merchandise lighting separate from brand-color accents, and select the power and connection arrangement around the booth’s dismantling plan.
The five options below are intended for indoor booths. Outdoor stands, wet demonstrations and unusual temperature conditions require a separate construction review. No LED strip configuration replaces the event’s electrical design or venue approval process.
Choose by function, access and reuse
Compare the visible result and profile clearance, then check the controls and reassembly work. A light line spanning several panels needs a way to separate at dismantling, even when it looks continuous on opening day.
Start with the stand drawing and mark every dismantling boundary. Keep electrical joins accessible at those boundaries, document the feed route and allow strain relief so wires do not carry a panel’s weight. Discuss power arrangements with the stand contractor before fixing the strip order.
Dubai World Trade Centre’s official utilities guidance asks exhibitors to consult their stand contractor early and describes contractor coordination with the venue’s utilities team. Its exhibitor guidance identifies the event organiser as the first contact for services and directs participants to their portal or manual. For a Saudi or other GCC event, obtain that event’s own instructions; Dubai guidance is not a regional approval.
Five configurations to compare
1. Concealed single-color COB for fascia and counter lines
A protected, recessed white line suits a fascia edge or reception counter where the aim is a clean outline. Test the actual setback from the visitor’s sightline: hiding LED points does not by itself prevent glare.
The COB-8MM-320LED (RA80) catalog model lists an 8mm PCB and 10W/M, with DC12/24V variants. Select the exact voltage, CCT and construction. Confirm cut interval, profile fit and the feed design; its 5M/10M supply length does not establish a permissible powered run.
2. Higher-CRI white COB for merchandise shelves
For a booth selling fabrics, finishes or other color-sensitive merchandise, compare a higher-CRI white source using the actual goods. Keep colored accent light off the sample area so the buyer can judge it under the intended white light.
The COB-8MM-320LED (RA95) lists an 8mm PCB, CRI95 and 12W/M. Those catalog fields support a sample shortlist, not a guarantee that every object will look correct. Check the merchandise through the final cover, at the intended viewing angle and brightness. Review the complete assembly’s temperature and load before reusing a shelf designed for lower-power tape.
3. Narrow COB for slim display joinery
A narrow PCB can fit an edge detail with little usable width. Check the connection and cover clearance before settling on the strip: the smallest tape will not make a bulky connector fit an undersized recess.
The COB-5MM-400LED (RA90) lists a 5mm PCB and 8W/M. Check its voltage variant, cut unit and actual channel clearance. Use a short assembled detail to verify output and heat; narrow width is not an output specification.
4. A separate RGB zone for brand-color accents
RGB can suit a counter edge or decorative panel when the color effect is the purpose. Put it on a separate documented control zone so staff can change or switch off the accent without losing the white merchandise lighting.
The SMD5050 DC12V RGB 5m kit is a catalog option for evaluation. Confirm the included supply, controller, connectors and permitted load before planning the booth around the set. Analog RGB and addressable effects are different systems; use the comparison guide before specifying animations. Test low brightness and any camera-facing scene.
5. Labeled low-voltage modules for a reusable booth fleet
For a contractor reusing the same booth panels, module boundaries can be more important than the strip family. Keep a documented light section with each panel, use approved detachable connections at the planned joints, and protect the sections for transport. Verify connector current capacity, polarity, cable exit and suitability for repeated handling.
Agree the strip and profile combination for each module, then retain its bill of materials and mating-connector references. Ask the accessory supplier about connection-cycle suitability instead of assuming that every clip connector is a reusable show connector. This is an assembly approach, not a claim that every catalog strip is supplied as a finished module. The pre-cut assembly guide lists the details to confirm for repeat orders.
Compare the installed trade-offs
| Booth need | Starting configuration | Main acceptance check |
|---|---|---|
| A clean fascia or counter line | Concealed single-color COB | Glare and uniformity at visitor eye level |
| Color-sensitive merchandise | Higher-CRI white COB | Real samples under the finished optic |
| Limited profile width | Narrow COB | Joint clearance, useful output and heat |
| A decorative brand color | Separate RGB zone | Control compatibility and separation from white light |
| Repeated shows and transport | Labeled low-voltage modules | Reassembly, connector ratings and protection in transit |
Build and dismantle a trial before shipping
Assemble one fascia or shelf detail with the intended strip, cover, driver, controller and cables. Have the stand’s qualified electrical team check the load and supply arrangement. Inspect full brightness and working scenes, reflections, joint shadows, end-to-end uniformity and temperature within the equipment’s limits.
Dismantle the trial in the crew’s planned sequence. Can the crew release each panel without pulling a wire? Are the connectors accessible and labels still legible? Reassemble it and repeat the functional check to catch handling problems before packing the booth.
Keep spare parts against the same component schedule. Select quantities from the number of modules and the replacement plan rather than using an arbitrary percentage. Protect the covers and strip sections in their transport packing, and retain the controller settings or pairing record.
Send a zone schedule with the RFQ
Include the event and venue, booth drawing, zone purpose, voltage, CCT or color system, profile section, cuttable module lengths, feed route, control method and dismantling boundaries. List accessories separately and state which party supplies them. Add the required delivery date for confirmation without assuming a production slot is available.
For fleet procurement, LEDStripStar publishes a standard MOQ of 500m per specification and 2,000m per specification for OEM/private-label orders. One small booth may therefore need a different purchasing route. For a suitable bulk requirement, send the schedule through the quote form and confirm model configuration, availability and packing in writing.
Catalog & Sourcing Note
This article is prepared from our current product catalog and B2B specification workflow. Electrical, waterproofing and installation requirements vary by model and market, so confirm the final specification and approved sample before ordering.
Discuss Your Specification